

HST MLI Blanket B Images
Click on thumbnail image to retrieve full high-resolution image.
HST MLI Blanket B Images (39 images in total)
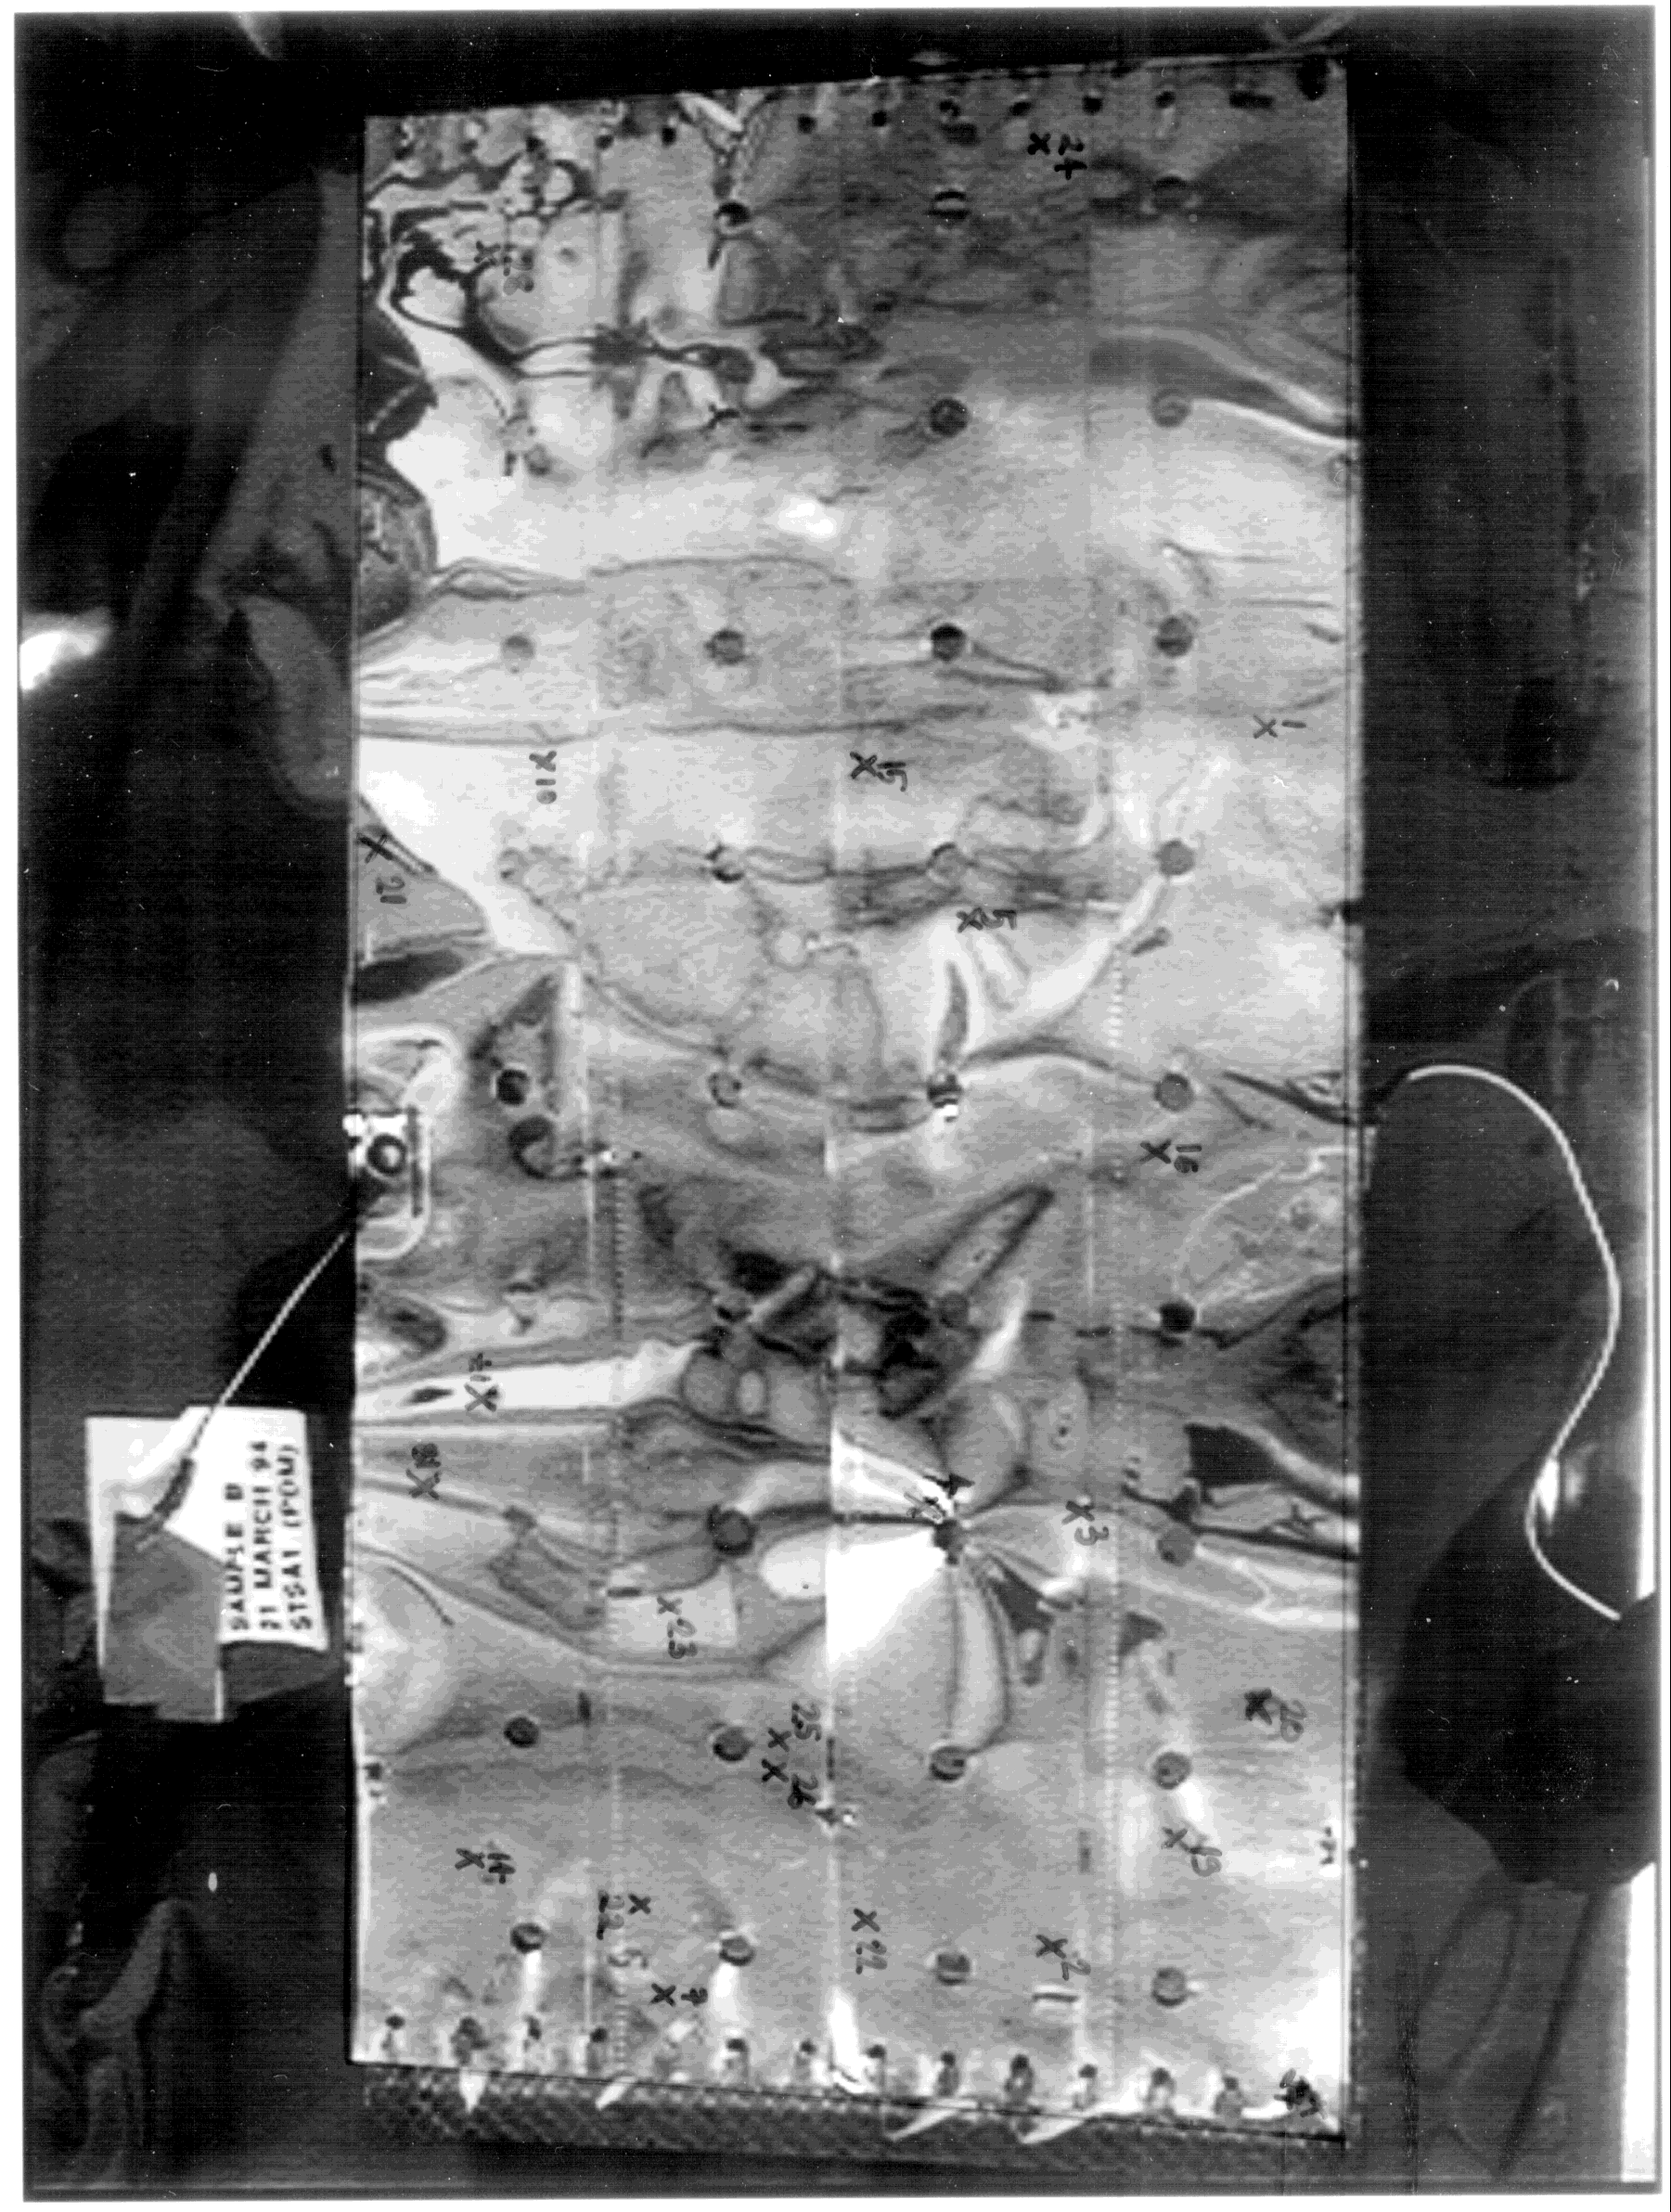
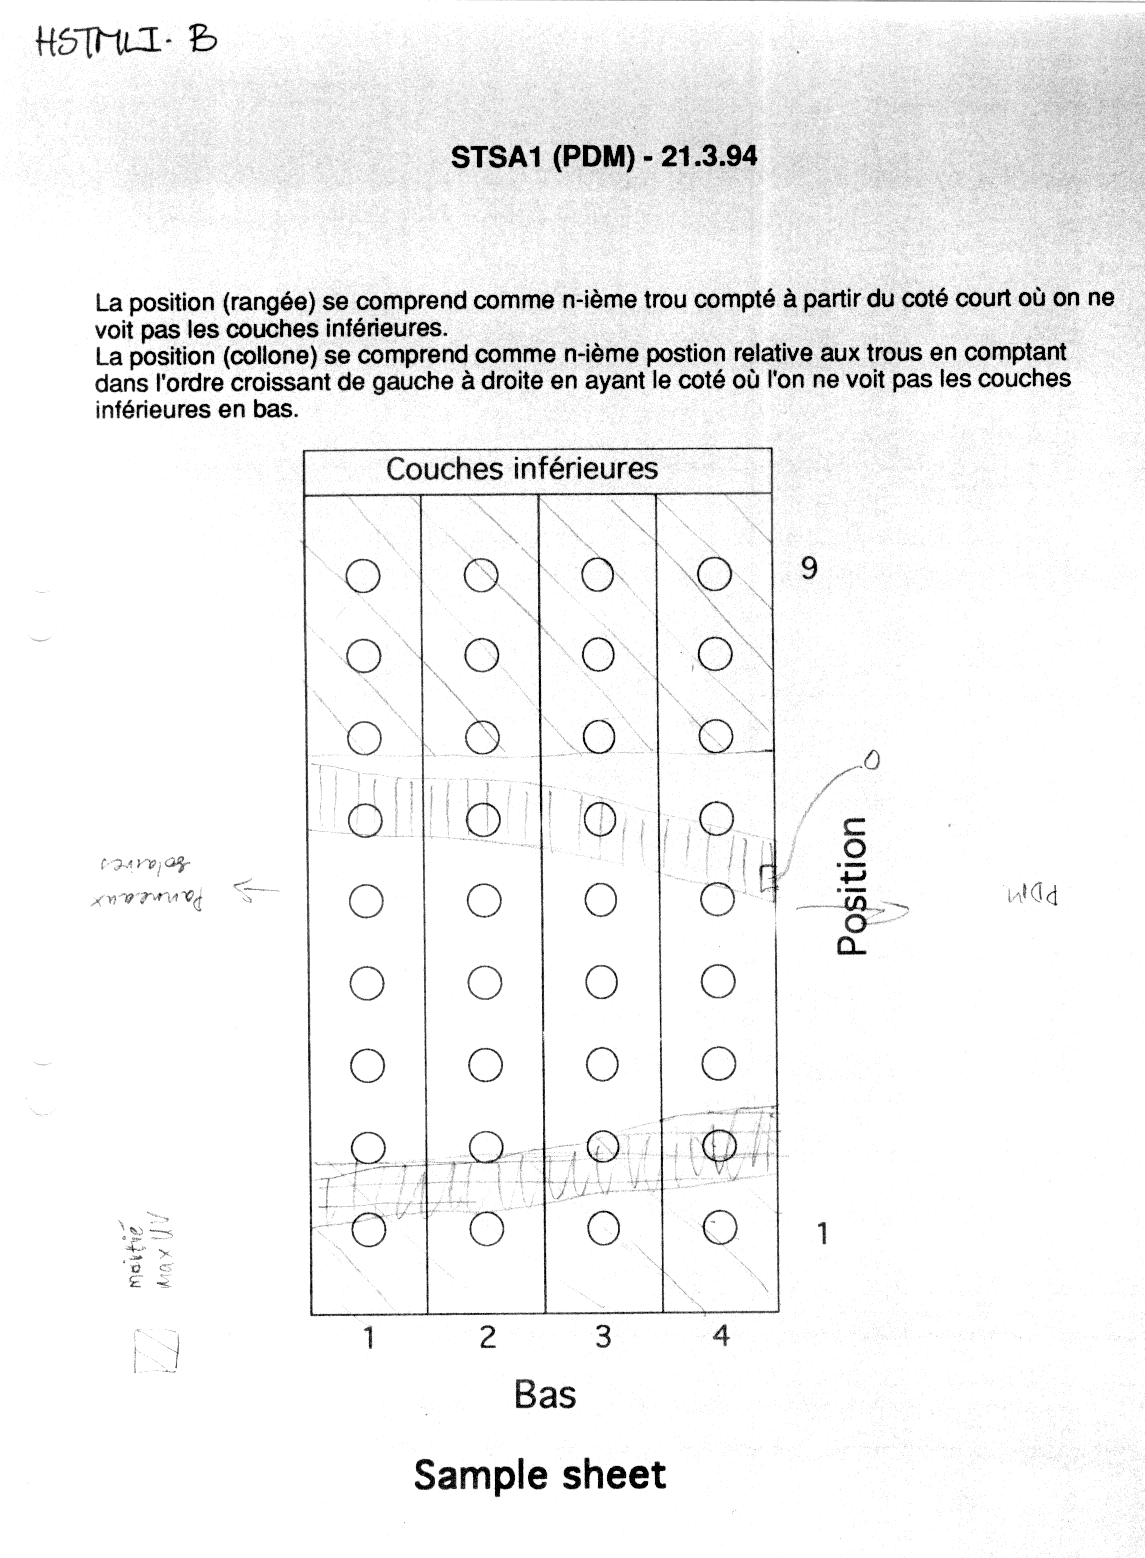 Figure 2: Shadow Diagram
(MLI B).
Figure 2: Shadow Diagram
(MLI B).
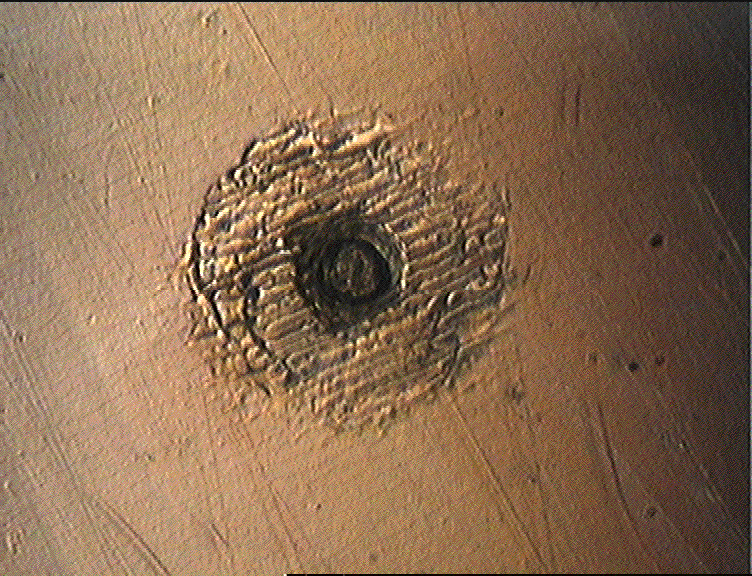 Figure 3: B1hm Image.
 Figure 4: B2hm Image.
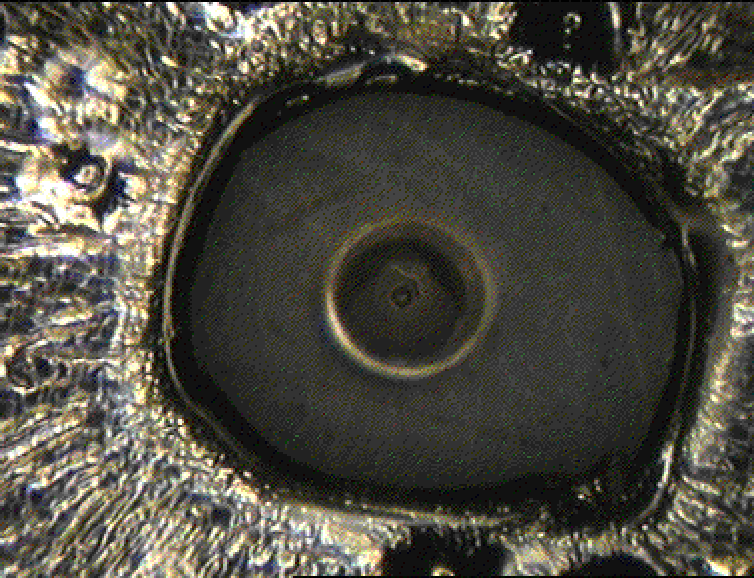 Figure 5: B2hmAg Image.
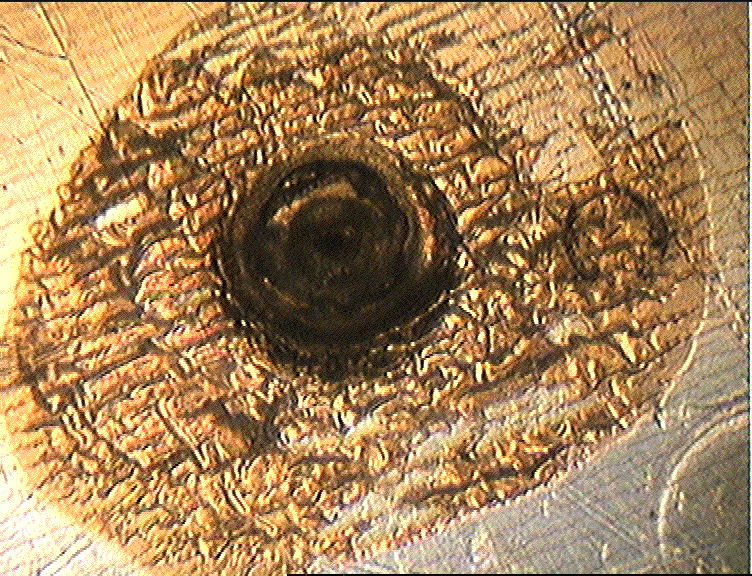 Figure 6: B3hm Image.
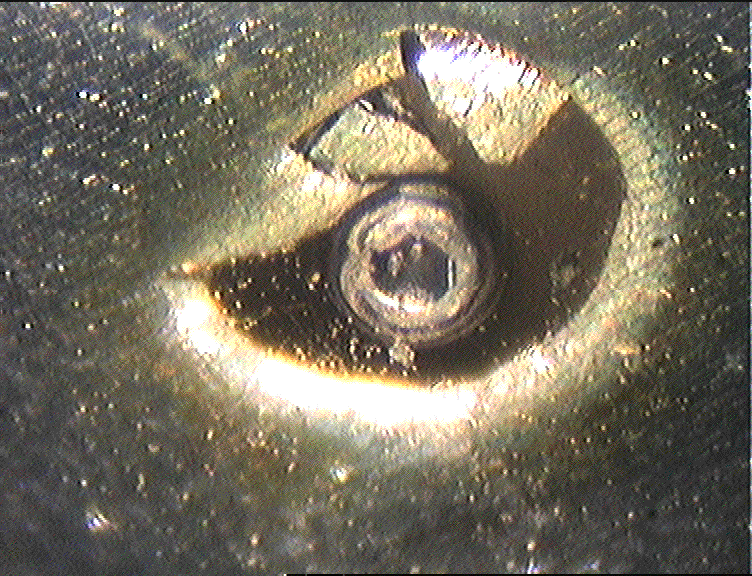 Figure 7: B4hm Image.
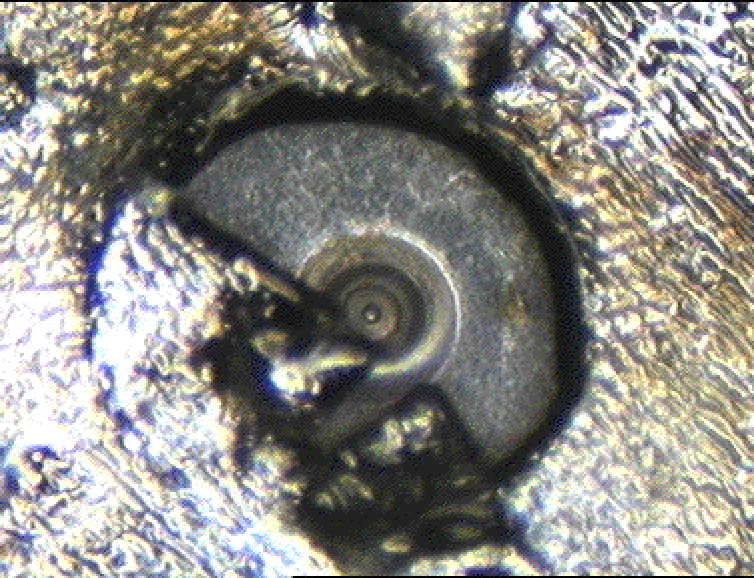 Figure 8: B4hmAg Image.
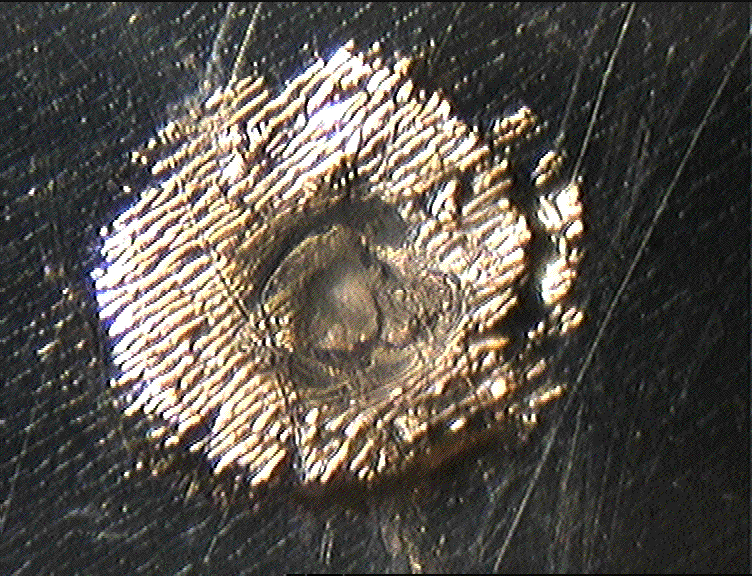 Figure 9: B5hm Image.
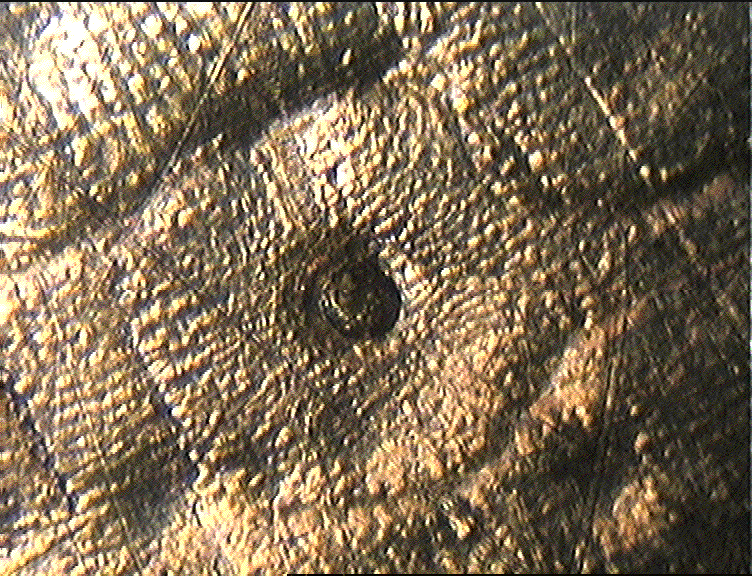 Figure 10: B7hm Image.
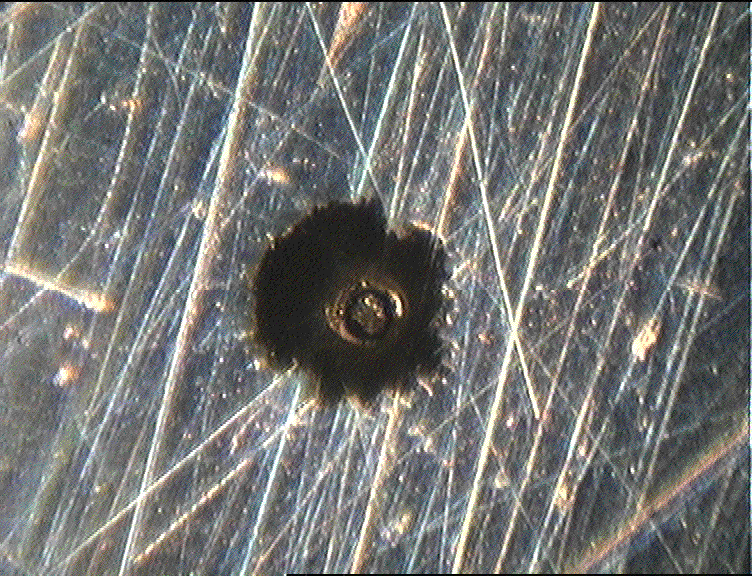 Figure 11: B10hm Image.
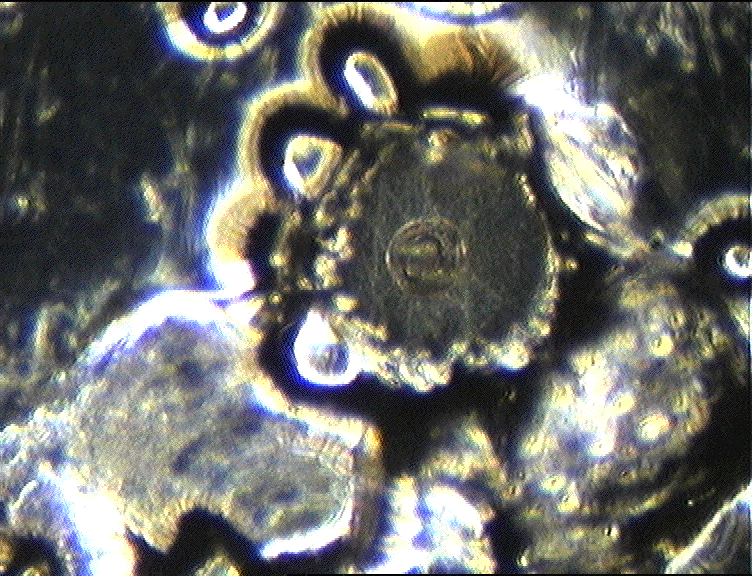 Figure 12: B10hmAg Image.
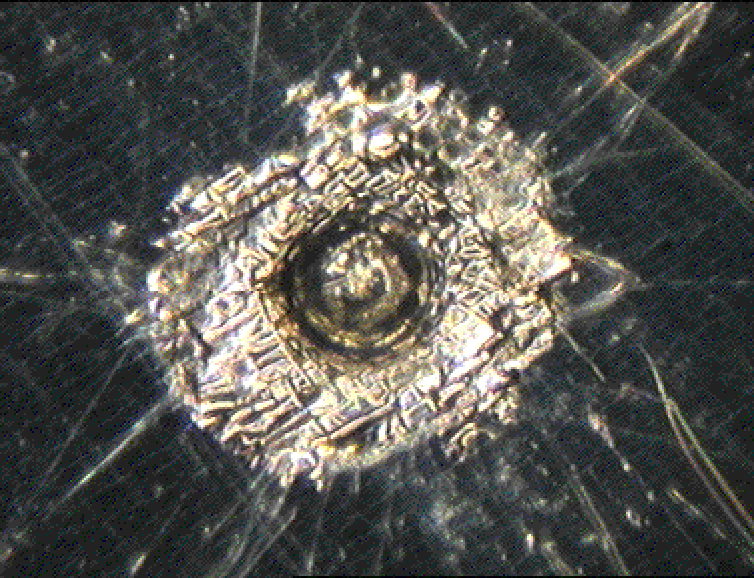 Figure 13: B11hm Image.
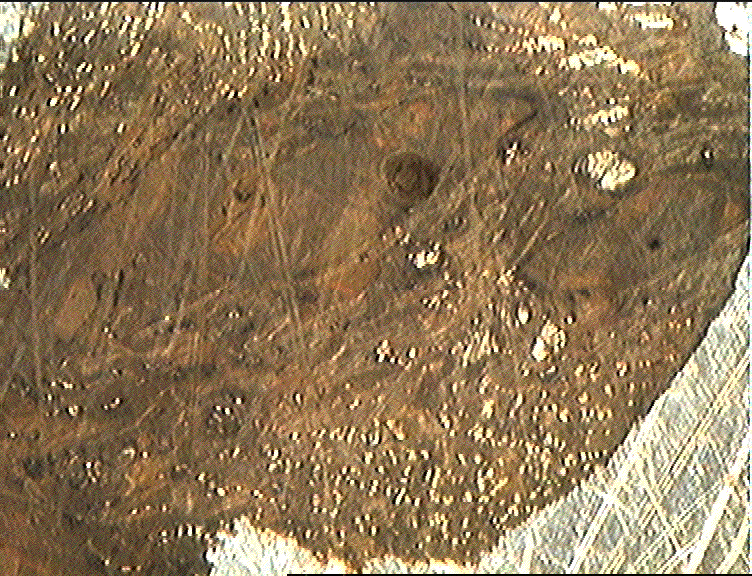 Figure 14: B14bhm Image.
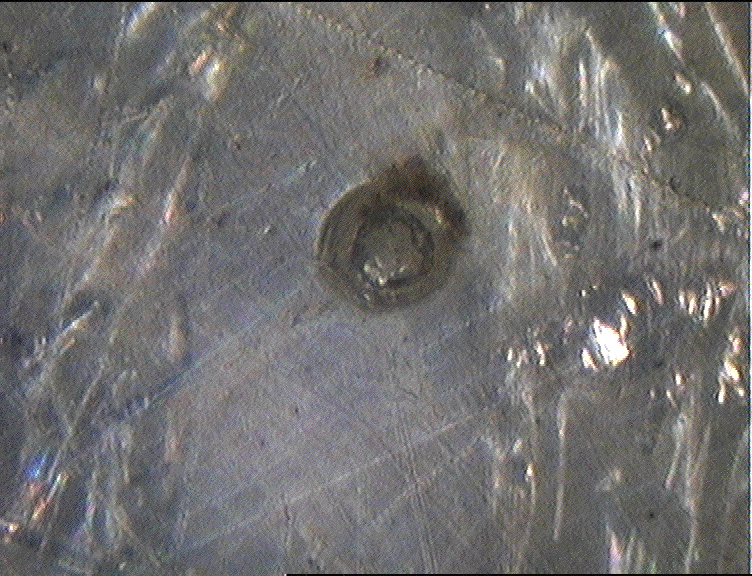 Figure 15: B14hm Image.
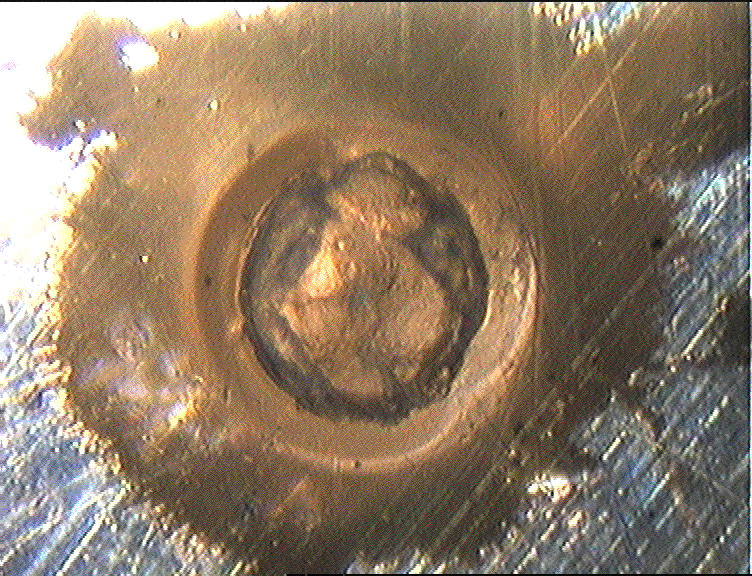 Figure 16: B15hm Image.
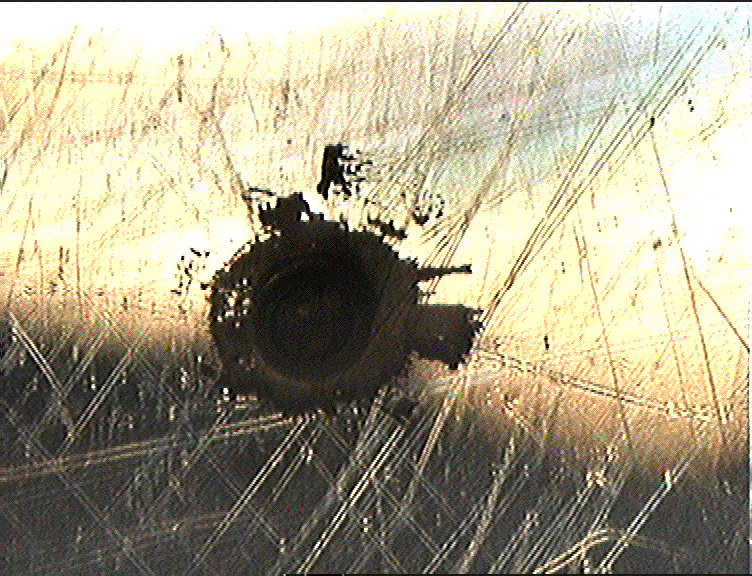 Figure 17: B15lm Image.
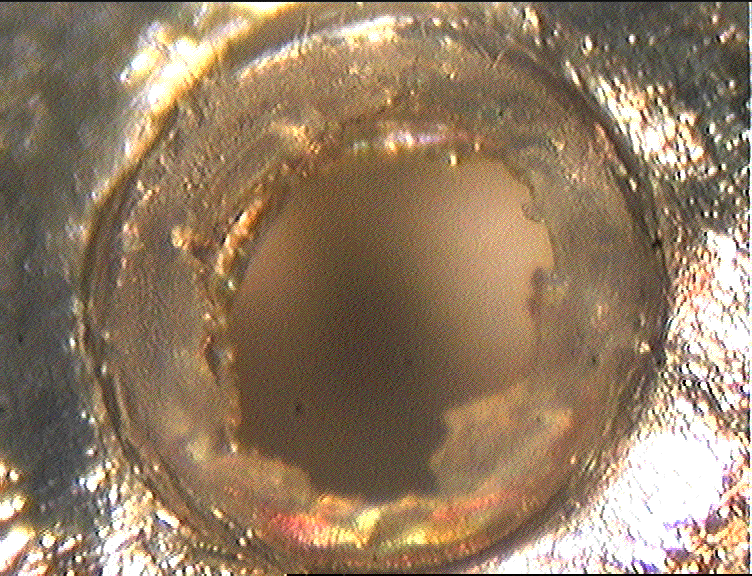 Figure 18: B17hm Image.
 Figure 19: B17hmgf Image.
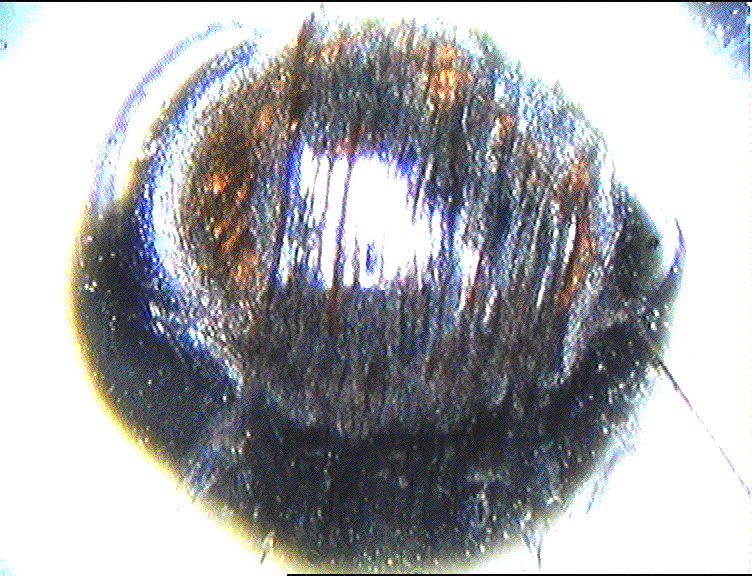 Figure 20: B17hmlay2 Image.
 Figure 21: B17hmlay1 Image.
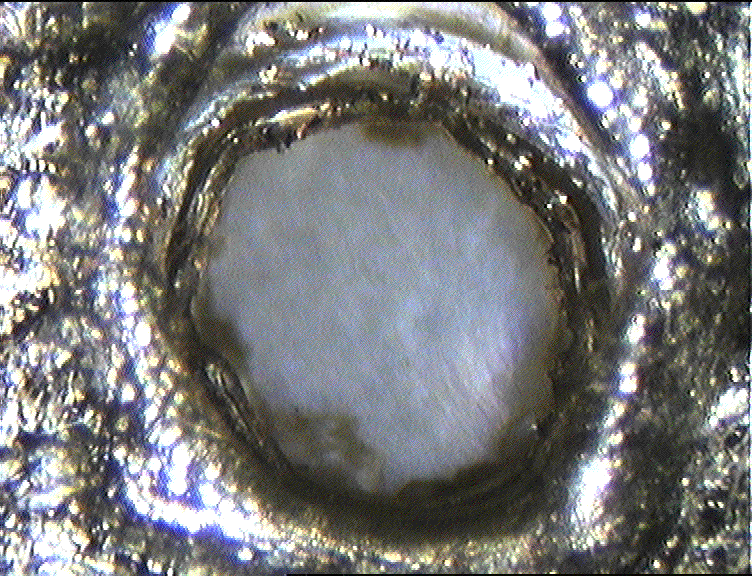 Figure 22: B17layAghm
Image.
Figure 22: B17layAghm
Image.
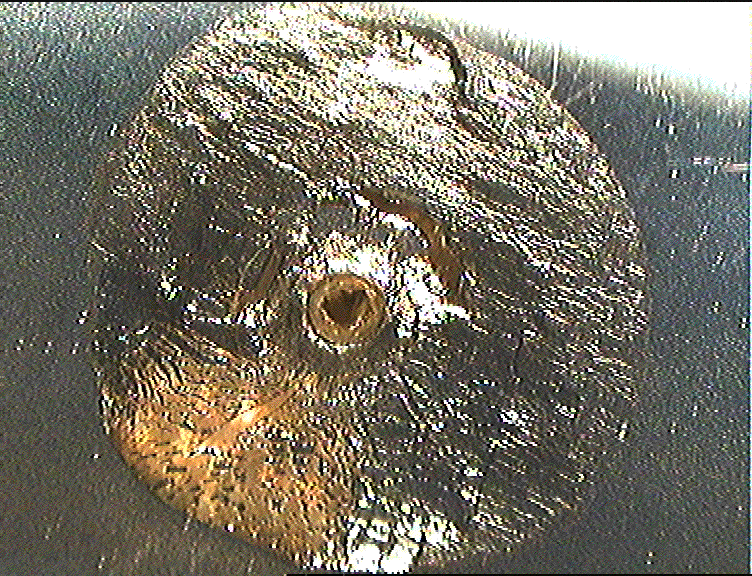 Figure 23: B17lm Image.
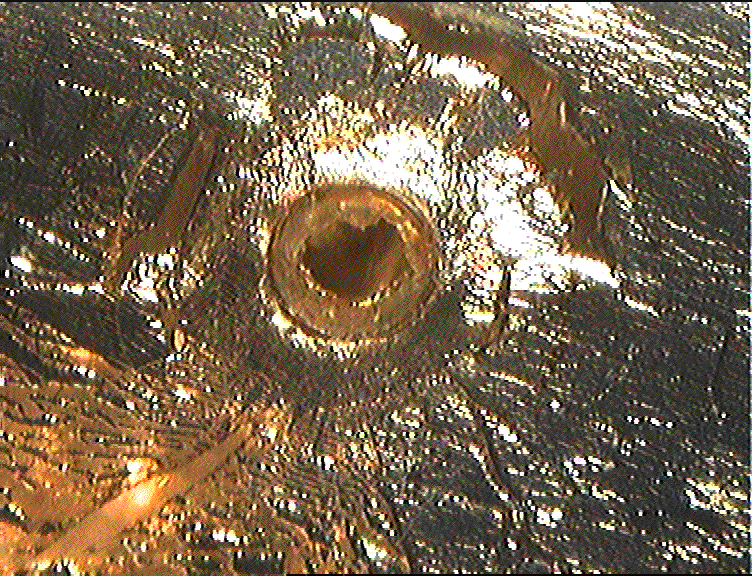 Figure 24: B17mm Image.
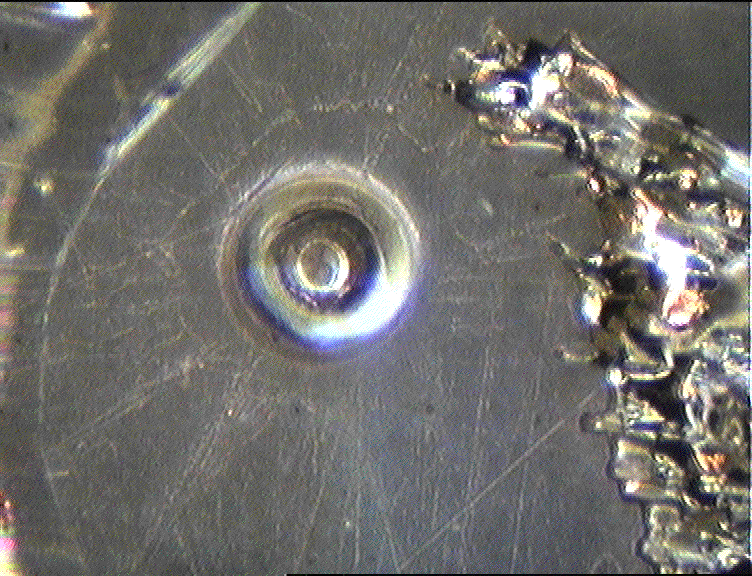 Figure 25: B18Ag Image.
 Figure 26: B18hm Image.
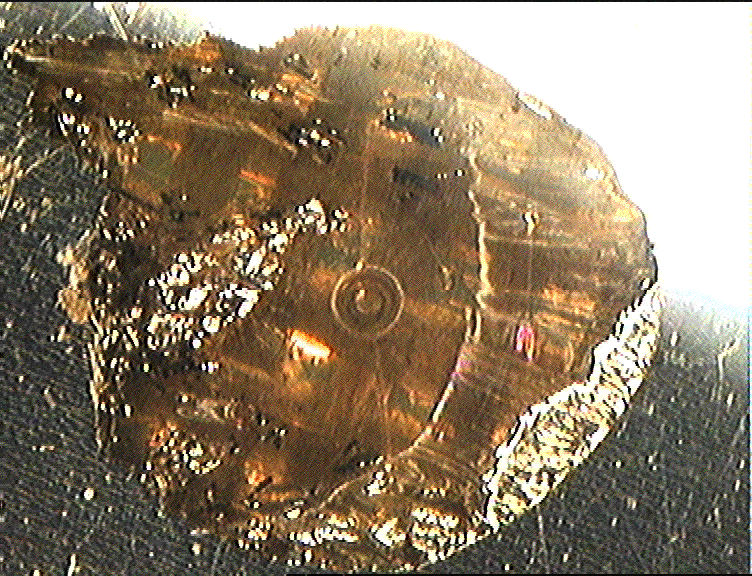 Figure 27: B18lm Image.
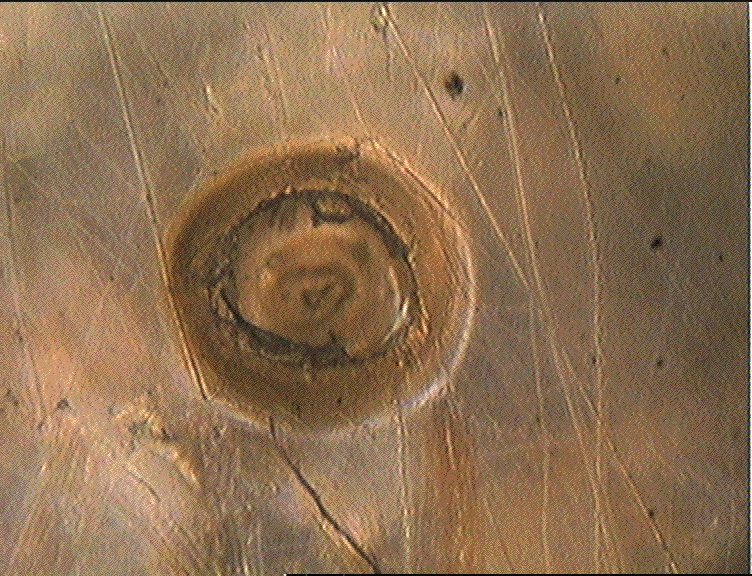 Figure 28: B19hm Image.
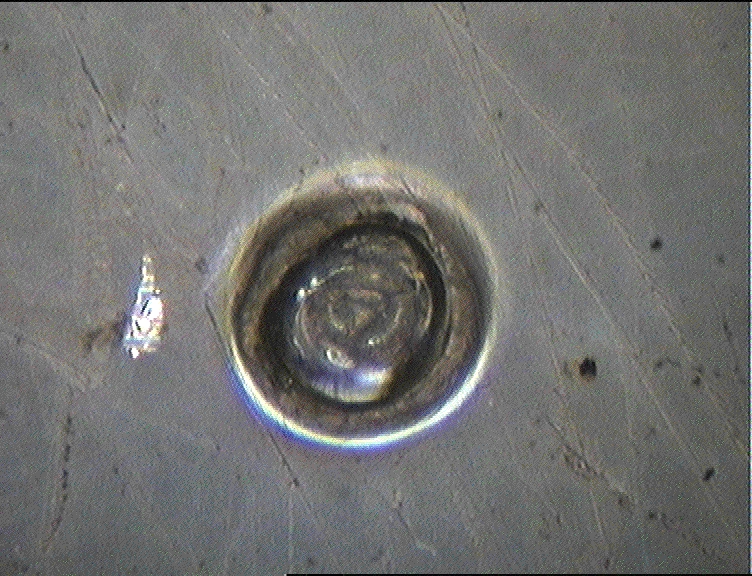 Figure 29: B19hmAg Image.
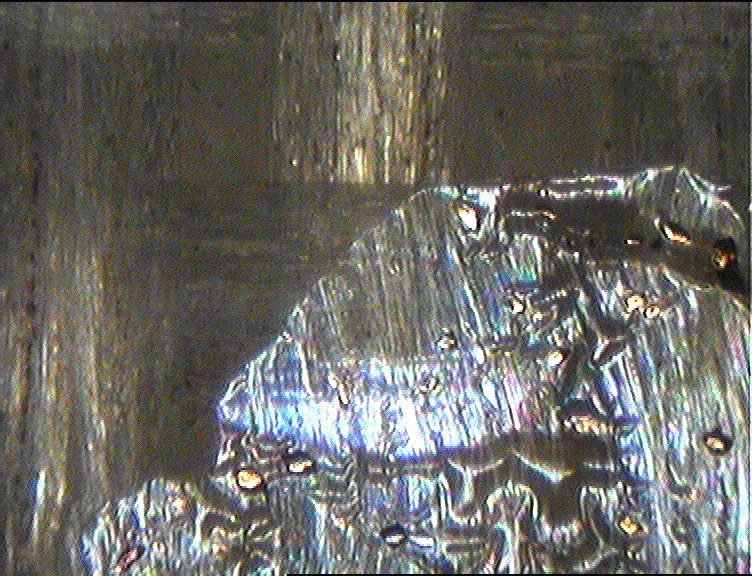 Figure 30: B19hfgm Image.
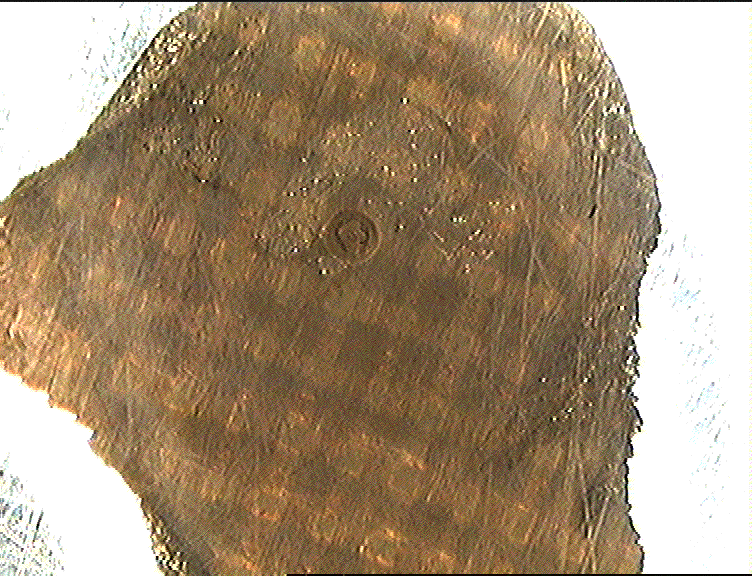 Figure 31: B19lm Image.
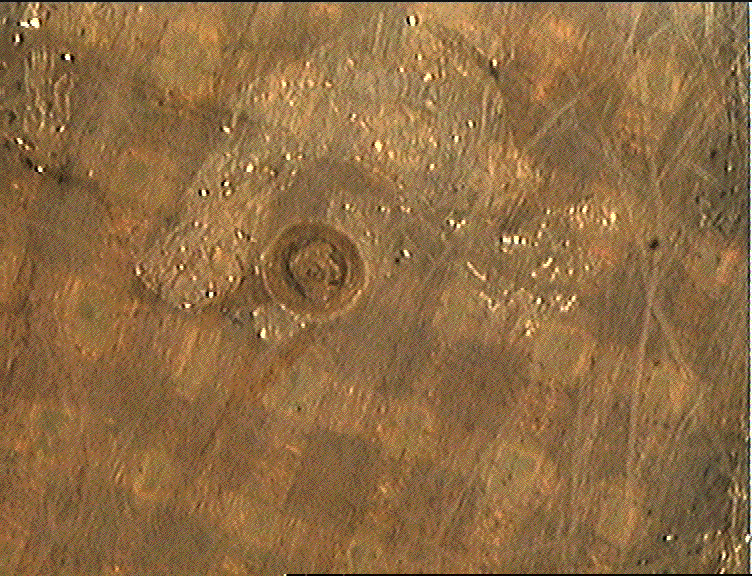 Figure 32: B19mm Image.
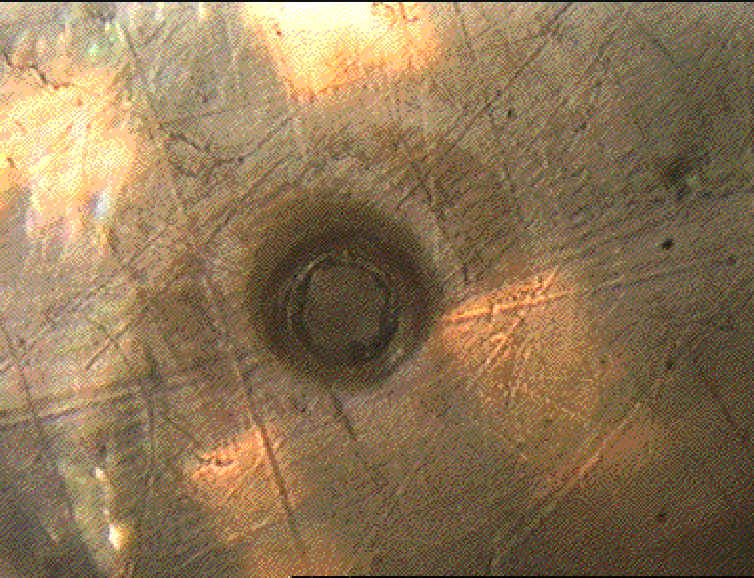 Figure 33: B20hm Image.
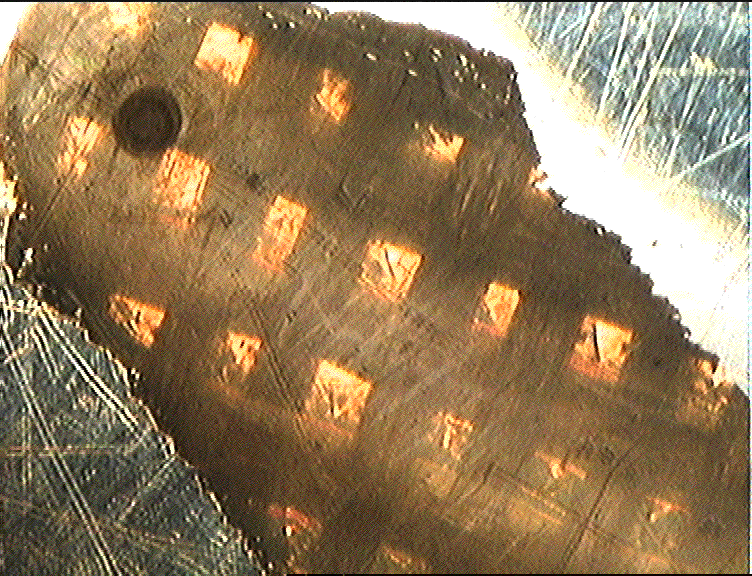 Figure 34: B20lm Image.
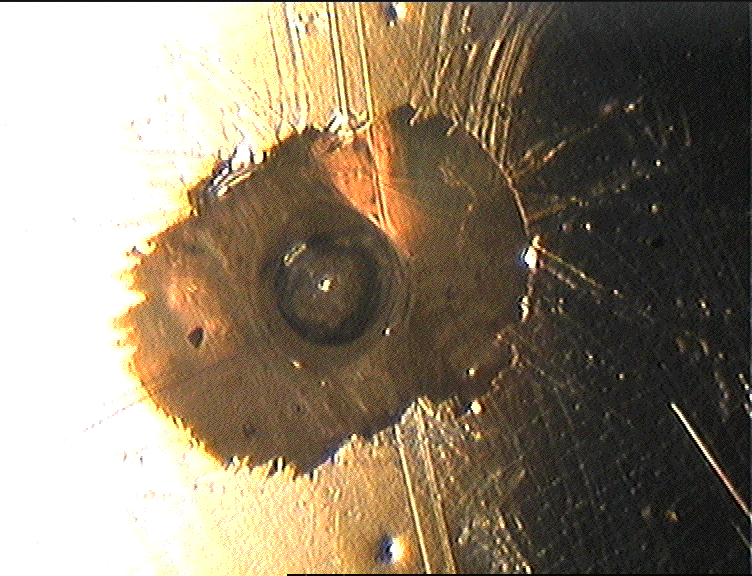 Figure 35: B21hm Image.
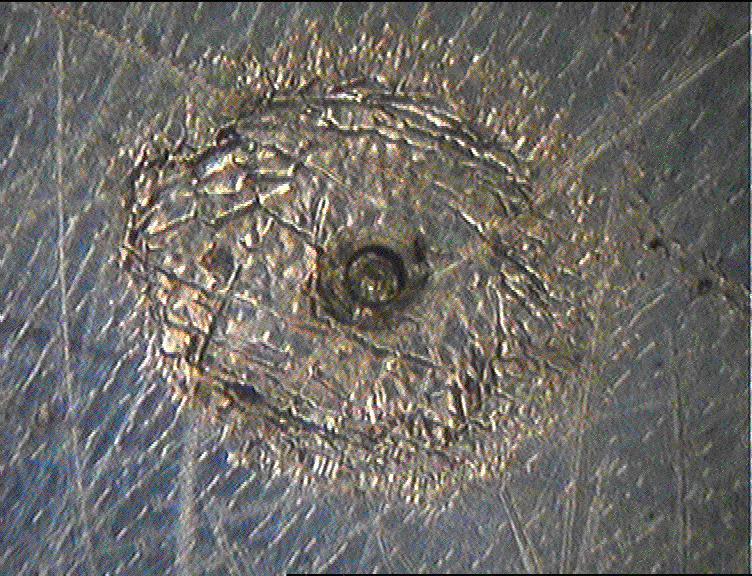 Figure 36: B22hm Image.
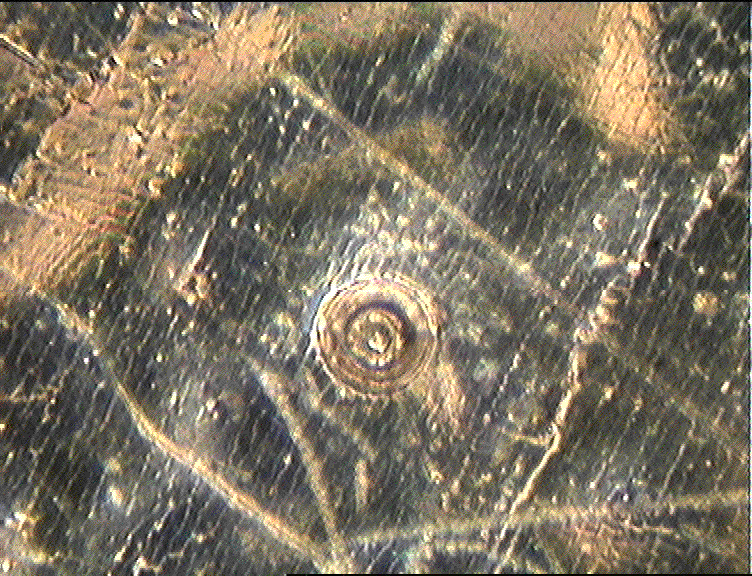 Figure 37: B23hm Image.
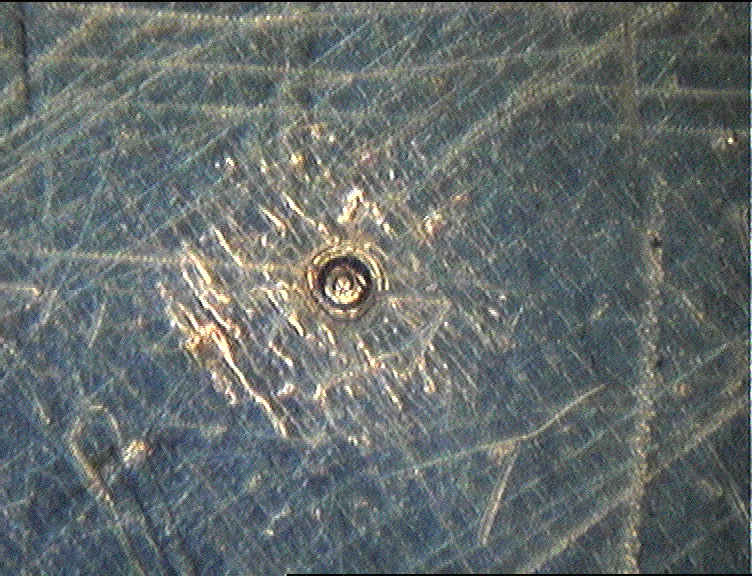 Figure 38: B25hm Image.
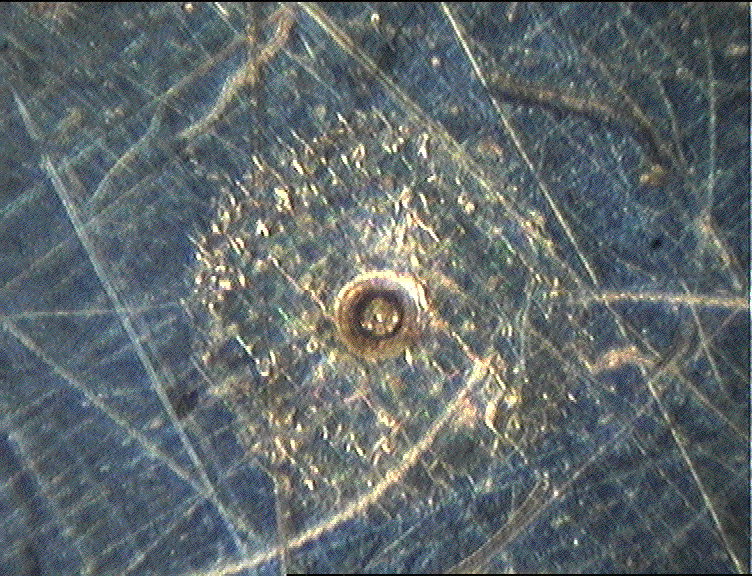 Figure 39: B26hm Image.